Rules of Survival Legacy Maps
Seven combat zones with terrain analysis, loot tiers, rotation routes, and tactical callouts.
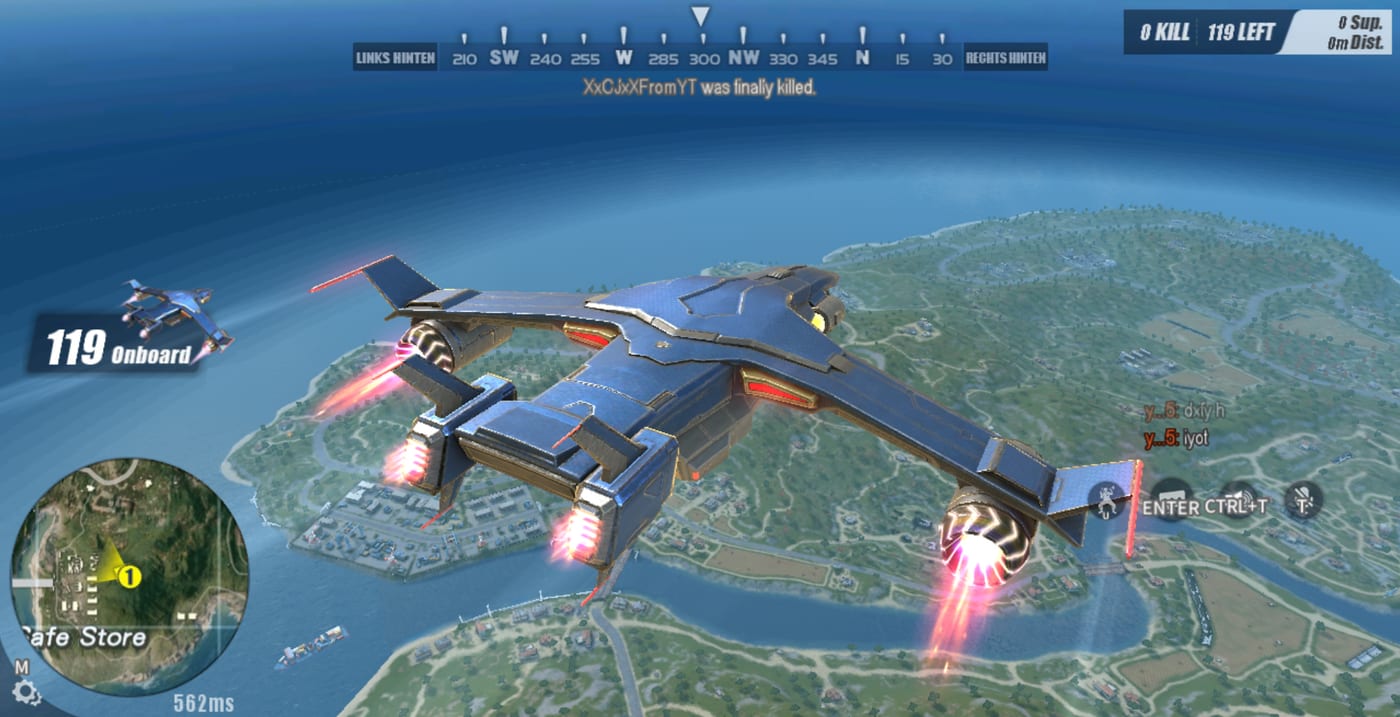
Rules of Survival Legacy features seven combat zones across diverse terrain. Each zone offers unique tactical challenges and rewards different weapons and squad compositions. This hub organizes every map guide so you can study terrain before Myth opens test access. Understanding these maps before you drop is the difference between educated rotation decisions and being caught in the open when the circle shrinks.
The seven combat zones
The seven main combat zones represent the core tactical environments in ROS Legacy. Each combines specific terrain features, engagement distances, and strategic considerations that shape how matches play out.
Zone Theme Combat style Loot tier Rotation difficulty Crash Site Jungle Wreckage Close to mid-range Medium to high Medium The Slums Urban warfare CQB and rooftop Medium Medium Frostfall Frozen ruins Mid to long range Medium to high High Highlands Open terrain Long range precision High Extreme Dust Quarter Desert settlement Mixed Medium High Iron Town Industrial Close quarters Medium Medium Oasis Desert Balanced High High
Zone-specific POI guides
Beyond the seven main zones, each area contains points of interest with specific callouts that experienced players use for drop planning and rotation strategy:
Combat Zones
Bitter Lake — Waterfront combat zone with central lake and surrounding structures; forces contested water access in late phases Echo Valley — Valley engagement area with natural amphitheater terrain; acoustic complexity from canyon walls Fearless Fiord — Classic ROS terrain style with snow-covered open areas; rewards long-range specialists Ghillie Island — Stealth and concealment focused environment with heavy vegetation and limited sightlines Masout Factory — Industrial interior with multiple floors and interior routes; complex close-quarters geometry Observatory — Elevated tactical position on high ground; exceptional long-range visibility but exposed Research Edifice — Scientific facility with unique interior layout; medium-density combat environment Rust Bay — Coastal industrial with water access and indoor-outdoor transitions Safe Store — Loot-rich building in residential area; high-risk high-reward drop location Spawn Island — Starting area with tutorial-friendly layout; used for early game practice Squirrel Depot — Transit hub with connected buildings; multiple breach points for squad tactics Thermal Power — Power facility with industrial structures and elevated positions Training Base — Military training area with structured combat environments Wind Cliff — Cliffside engagement with dramatic elevation changes and long sightlines
How to use map guides
Effective map study before launch gives you advantages that compound throughout each match. Follow this workflow to extract maximum value from each guide:
Read the zone overview for terrain type and tactical fit with your preferred playstyle Study loot tier tables for drop planning — knowing which zones have military-grade loot helps with early weapon decisions Note rotation routes for circle strategy — each zone has natural movement paths that become safer or more dangerous as circles shrink Check recommended loadouts for zone-specific loadout advice — the right weapons for the terrain dramatically increase survival odds
Map selection strategy
Your map knowledge directly translates to survival advantage. Consider these factors when selecting where to drop:
Squad composition — Snipers excel on Highlands, SMG users should target Iron Town or The Slums Playstyle — Aggressive players benefit from high-loot central drops; patient players should study rotation paths on quieter zones Circle prediction — Early map study helps predict which zones will be safe in later phases
Pair map study with Tier List for weapon-zone matching and Guides for movement and positioning tactics that exploit each terrain’s unique features.
Zone comparison
Understanding the relationship between zones helps with cross-map skill transfer:
If you master… You’ll adapt quickly to… Because… Highlands Frostfall Both reward long-range positioning and patience Iron Town The Slums Both emphasize CQB and squad coordination Dust Quarter Oasis Both feature desert terrain with rotation pressure Crash Site Masout Factory Both have complex interior structures
Official Myth resources
Myth Games has confirmed seven combat zones on the official ROS Legacy landing page. As development progresses, official zone details will be published on ros.mythgames.net. Monitor the official Discord (invite wUsusyhGgr) for zone announcements and potential additions to the roster.
Preguntas frecuentes
Respuestas rápidas a las preguntas más comunes.
How many combat zones does ROS Legacy have?
Seven main combat zones: Crash Site, The Slums, Frostfall, Highlands, Dust Quarter, Iron Town, and Oasis. Each has unique terrain and tactical considerations. Additional point-of-interest locations exist within and between these zones.
Are these the same maps as classic ROS?
No. These seven zones are Myth Games originals. They are inspired by classic ROS design but are distinct new maps built for ROS Legacy's PC-focused experience.
Which zone is best for snipers?
Highlands and Frostfall favor long-range precision due to open terrain and elevated positions. Highlands specifically rewards patient sniping from high ground with sightlines extending beyond 400 meters.
Which zone is best for close combat?
Iron Town and The Slums are CQB zones with tight spaces, factory lanes, and urban environments that favor SMGs, shotguns, and coordinated squad play.
Will more zones be added after launch?
Myth Games has not confirmed post-launch map additions. Monitor official channels for development updates as ROS Legacy approaches release.