Rules of Survival Legacy Late-Game Mastery
Master the decisions, positioning, and consumable discipline that separate top-five placements from early eliminations.
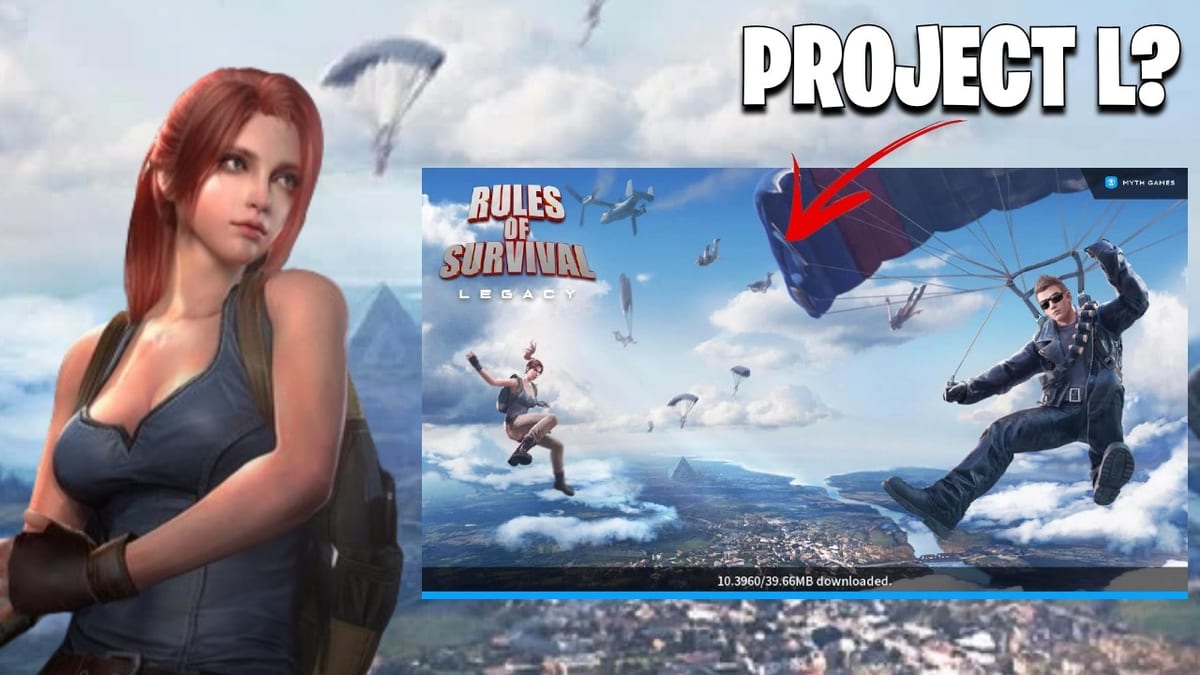
In classic Rules of Survival, the first twenty minutes were preparation for the final two. Late-game was where skill gaps became placement gaps. Players who mastered final circle decisions, consumable timing, and pressure management consistently finished top five regardless of early-game chaos. Rules of Survival Legacy targets PC under Myth Games, still Under Development as of September 2026, and the late-game fundamentals from classic ROS remain some of the highest-value skills to practice before launch.
This guide covers the specific decisions that determined whether you saw the victory screen or the elimination screen.
The psychology of late-game
Late-game created psychological pressure that broke most players. The shrinking space meant every decision carried enormous consequences. The gap between good players and great players was not aim鈥攊t was the ability to think clearly when the stakes were highest.
Managing pressure:
Anxiety in late-game came from two sources: the zone forcing movement, and the knowledge that one mistake erased twenty minutes of good play. Managing both required discipline.
Zone pressure was a physical threat鈥攕tanding still meant dying to poison gas. This forced movement whether you were ready or not. The key was to plan your movement before the zone demanded it, not react to it when it arrived.
Loss aversion was the bigger killer. Players who reached top ten often played not to lose rather than to win. They held defensive positions past their useful life, refused to push winning shots because they feared counter-fire, and lost simply from passivity. The moment you stopped being aggressive in late-game, you ceded control to whoever was still fighting.
Final circle positioning
Positioning in final circles was the single most important late-game skill. Bad position meant fighting the zone AND enemies simultaneously. Good position meant enemies had to fight the zone to reach you.
Types of final circle positions:
Rock outcroppings and boulders provided cover that moved with you as the zone shrunk. A good rock position meant enemies had to expose themselves to shoot at you while you had cover against zone damage.
Building corners in final circles of small player counts were powerful but risky. A building corner controlled a single approach鈥攂ut if the circle shifted away from your building, you were forced to run through open ground to re-position.
Ridge lines gave information advantage鈥攅levated sight lines let you see enemies approaching before they saw you. The disadvantage was being visible from multiple directions.
Tree lines and forest areas broke sight lines and provided mobile cover. The trade-off was limited long-range visibility compared to open elevated positions.
Reading circle behavior:
The first three to four zones in classic ROS compressed predictably. The fifth and sixth zones were the decision zones鈥攚here players had to choose between holding for center position or accepting edge position. The final two zones were pure survival math: who had consumables to survive the next compression.
See the Circle strategy guide for detailed zone rotation analysis.
Consumable management in late-game
Every heal, grenade, and boost item in your inventory was a survival tool. Mismanaging consumables in late-game was as fatal as taking bad positioning.
Healing item triage:
Use the weakest heal that restores your health sufficiently. If you were at 80% health, a bandage was faster to use and left med kits for when you really needed them. Using a med kit at 80% health wasted a resource you might need at 20%.
Timing heals was critical. Never heal in the open when enemies were near and could hear you. Find cover first, then heal. If the zone forced you to move while low health, accept the risk and move鈥攄ying to zone was worse than healing under slight exposure.
Boost item discipline:
Energy drinks and painkillers provided the stamina boost that let you rotate faster and execute aggressive plays. In final circles, boost items were not optional鈥攖hey were mandatory. A player without boost in final circles was slower than boosted opponents and lost every rotation contest.
Use boost items proactively, not reactively. If the zone was about to force a move, boost before you needed to rotate rather than after you were already behind.
Grenade economy:
By top ten, you knew roughly how many players remained and how many grenades each was likely carrying. If you had three frags and the final circle had three players, you could afford to use one to force a third party or flush a camping opponent.
Never waste grenades on partial information. A grenade thrown at a sound with no visual confirmation was a gamble鈥攁cceptable in final circles when placement was certain but elimination was not.
See the Throwables tier list for priority rankings.
Engagement decisions in final circles
Not every fight in late-game was worth taking. The question was not whether you could win鈥攊t was whether winning the fight improved your placement more than staying hidden.
When to engage:
Engage when the enemy was between you and your intended position鈥攖aking the fight cleared your rotation path.
Engage when the enemy was distracted by another fight and you could third-party without exposure.
Engage when taking the kill gave you access to better positioning (the enemy’s position was better than yours).
Engage when eliminating the enemy prevented them from third-partying your own position.
When to avoid engagement:
Avoid fighting when the zone was about to force movement鈥攜ou could not afford to be caught in the open reloading or healing after a trade.
Avoid fighting when you had consumable disadvantage鈥攊f you had one heal and the enemy had three, winning the fight still left you vulnerable to the next opponent.
Avoid fighting when taking the fight exposed you to a third party鈥攅ngage only when you had positional advantage over all visible and likely enemies.
The placement math:
In most ranking systems, first place was worth roughly the same points as second and third combined. The difference between first and tenth was often a single decision, not a skill gap. Play for placement until the final circle forced otherwise.
Clutch mechanics
The term clutch described a situation where a player or team overcame significant disadvantage to win. Clutches in classic ROS were celebrated because they required both mechanical skill and psychological composure.
Common clutch scenarios:
One-versus-two in final circles was the most common clutch scenario. Smoke yourself, heal to full health behind the screen, then challenge the remaining enemies when they advanced. The key was patience鈥攔ushing two healthy enemies rarely worked.
One-versus-many when third-partied. If multiple enemies were fighting each other and you entered the fray, eliminate the weakest first to reduce numbers, then heal, then address the remaining.
Vehicle clutch鈥攄riving through fire to reach a new position when all other options were closed. Vehicle clutches were high-risk but sometimes the only option when zone was closing and enemies held all ground approaches.
See the Advanced strategies guide for more clutch mechanics and third-party discipline.
Endgame loadout expectations
By top ten, your loadout was your loadout. No more loot opportunities existed. Managing what you had was the game.
Ideal top-ten loadout:
A versatile AR with 2x or 4x scope for the range band most common in final circles At least two healing items that could restore you from critical to fighting health Boost items consumed so you were running at full stamina Smoke grenades for movement cover when zone forced repositioning At least one frag grenade for flushing camping enemies or forcing third parties
Armor level mattered less in final circles than consumable count. A player with level-two armor and four heals beat a player with level-three armor and one heal in most final-circle scenarios.
Practice methodology for late-game
Late-game skills required deliberate practice. Normal queue games did not reliably produce late-game scenarios.
Training approach:
Drop at edge locations with moderate loot鈥攏ot hot drops that ended in two minutes, not completely dead zones with no challenge. Aim for scenarios where you reached top twenty regularly.
Review every top-ten finish. Ask: was your late-game positioning optimal? Did you waste consumables? Did you take fights that hurt placement unnecessarily? What would you do differently?
Practice healing discipline in safe moments. Every time you healed when you could have moved instead, note it. Late-game required healing only when absolutely necessary.
What Legacy may change
Myth Games has not confirmed final circle mechanics or ranking systems for Legacy. Classic ROS late-game rewarded placement heavily and rewarded kills modestly. If Myth changes this balance, engagement decisions change too. Monitor Discord and Updates for late-game system announcements.
Related pages
Circle strategy guide 鈥?zone rotation and compression tactics Advanced strategies 鈥?clutch mechanics and third-party timing Throwables tier list 鈥?grenade economy and smoke discipline How to win 鈥?placement-first decision framework Ranking system 鈥?scoring that drives late-game decisions
Questions fréquentes
Réponses rapides aux questions les plus courantes.
What is the most important late-game skill?
Positioning in the final circle. A good position means enemies have to fight the zone to reach you while you have cover. A bad position means fighting enemies AND the zone simultaneously.
Should I always play for placement over kills in late-game?
Generally yes鈥攊n most ranking systems, placement points compound faster than kill points. But if the enemy is blocking your rotation path or threatening your position, eliminating them is worth the risk.
How do I manage consumables in late-game?
Use the weakest heal that restores sufficient health. Save med kits for critical moments. Boost proactively before rotations, not reactively after. Never waste grenades on partial information.
When should I engage vs avoid fights in final circles?
Engage when the enemy blocks your position or rotation path, when you can third-party without exposure, or when taking the kill improves your position. Avoid fights when zone is about to force movement, when you have consumable disadvantage, or when the fight exposes you to third parties.
What loadout should I aim for in top-ten?
Versatile AR with 2x or 4x scope, at least two healing items, boost items consumed, smoke grenades for movement cover, and at least one frag grenade. Consumable count matters more than armor level in final circles.
Will Legacy have the same ranking system as classic ROS?
Unknown. Myth has not confirmed scoring mechanics. Classic ROS rewarded placement heavily. Monitor Discord and Updates for ranking system announcements as development progresses.